Add Additional Microsoft 365 Tenant
In this guide, you’ll learn how to add an additional Microsoft 365 Tenant to an existing organization.
-
Sign into the Entra ID Admin Center
-
Click on
Overviewfrom the Entra ID menu.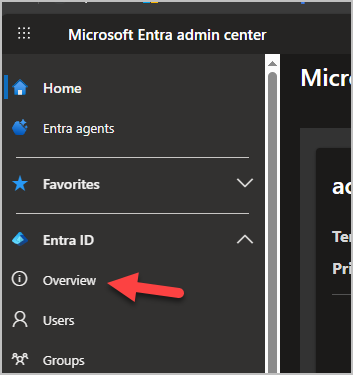
-
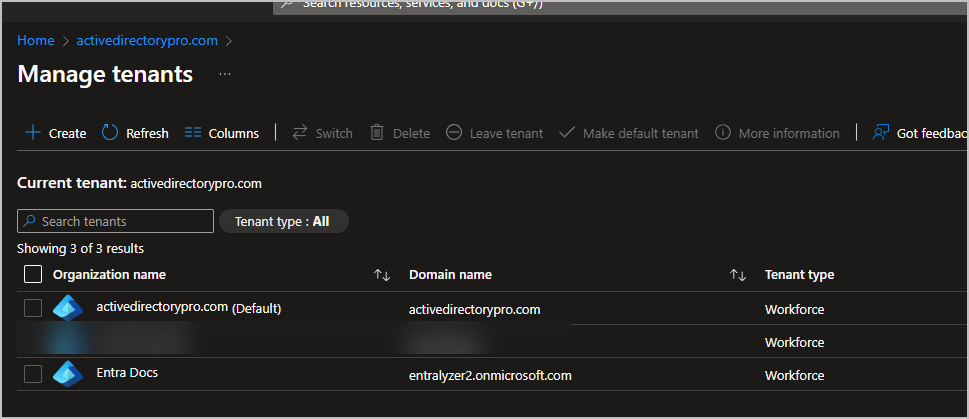
Click on
Manage tenants
-
Click
Create -
Choose the type of tenant and click
Continue- Workforce
- External
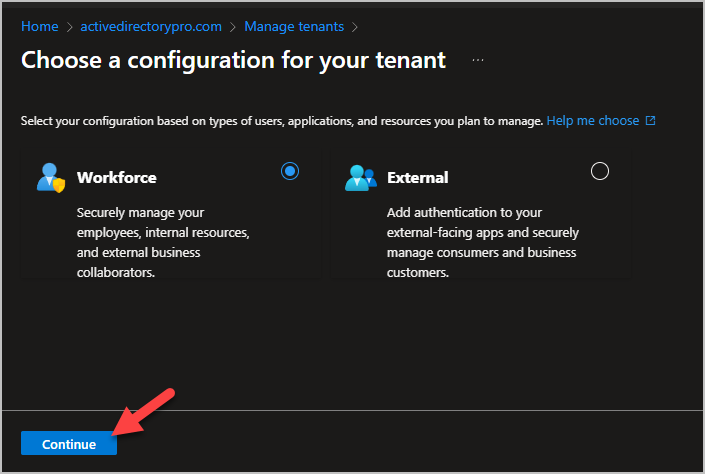
-
On the Create a tenant page fill out the required fields and click
Create- Tenant name: Enter a name for your tenant, this is typically the organization name.
- Domain name: Enter a domain name for this tenant
- Country/Region: Select your desired Country/Region or leave the United States option in the Country or region box.

When you click create it can take a few minutes for the tenant creation to complete.
-
When the creation is complete you can view the new tenant on the manage tenants page.
How to Switch Tenants
Section titled “How to Switch Tenants”By default, the user who creates a Microsoft Entra tenant is automatically assigned the Global Administrator role.
-
To access and manage your new tenant you would Sign into the Entra ID Admin Center
-
From the manage tenants page, Select the tenant and click
Switch
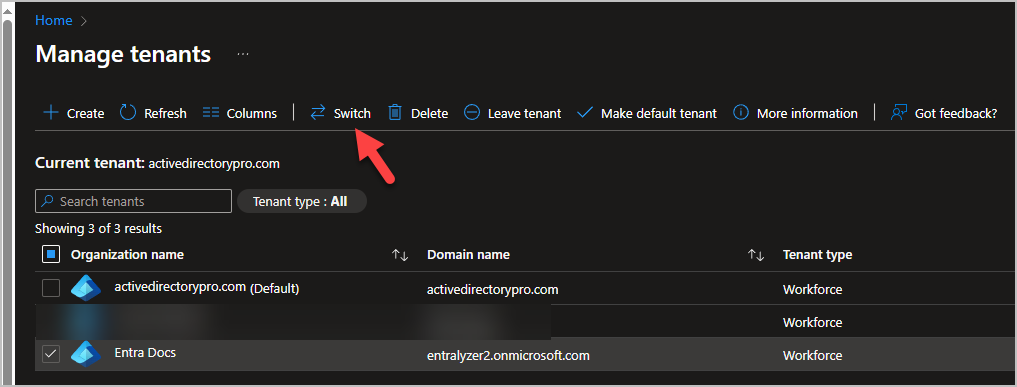
You will then be switched to the other tenant.
