Install Entralyzer
Install Steps
Section titled “Install Steps”Entralyzer is available in the EXE format for Windows and can be installed on any Windows machine (client or server). It is recommended to install Entralyzer on a server that can be running 24/7 but it is not required.
Step 1. Double-click the Entralyzer.exe to start the install.
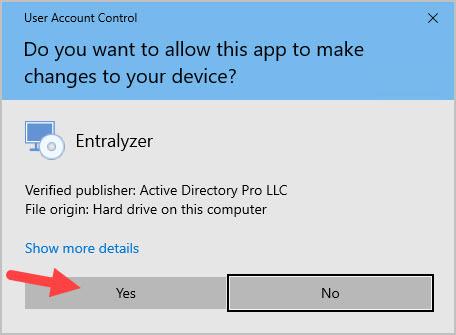
Step 2. If you get a popup that says “Do you want to allow this app to make changes to your device” click Yes. The application is digitally signed using our parent company (Active Directory Pro LLC) certificate.
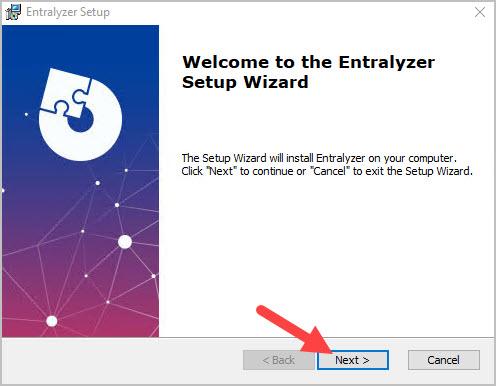
Step 3. Click “Next” on the Welcome screen.
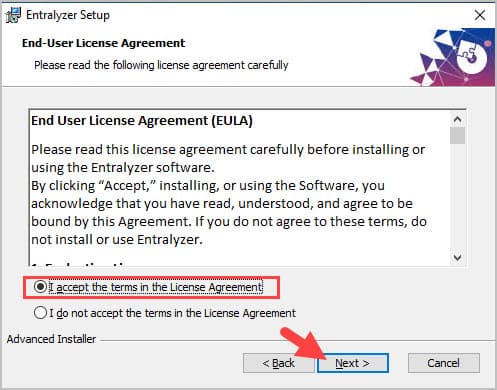
Step 3. Review and accept the end user license agreement then click “next”
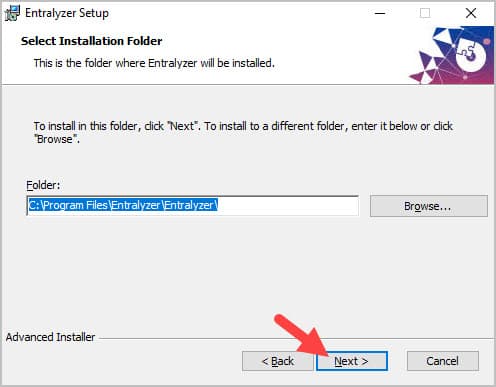
Step 4. Click “Next” On the “Select Installation Folder screen. The default install folder is C:\Program Files\Entralyzer\Entralyzer.
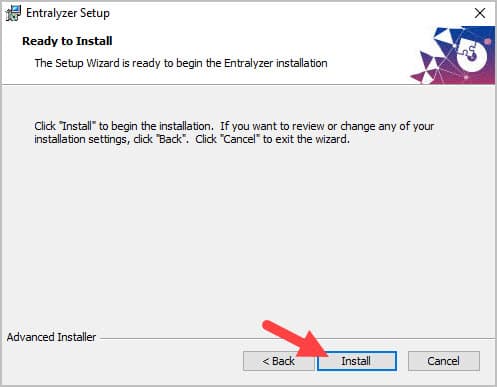
Step 5. Click “Install” on the ready to install screen.
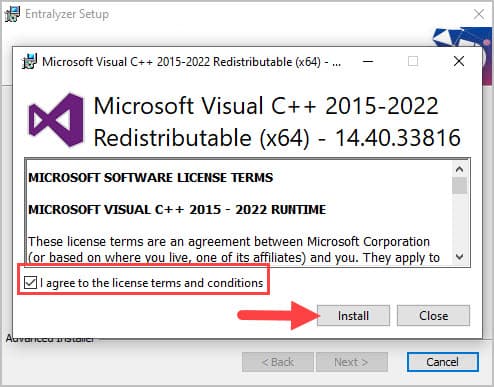
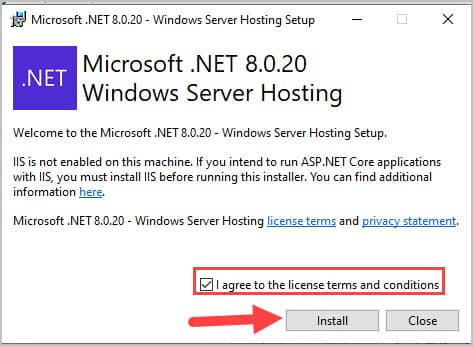
Step 6. If you are missing any of the prerequisites (Visual C++ Redistributale or .Net Windows Server Hosting) you will be prompted to install them.
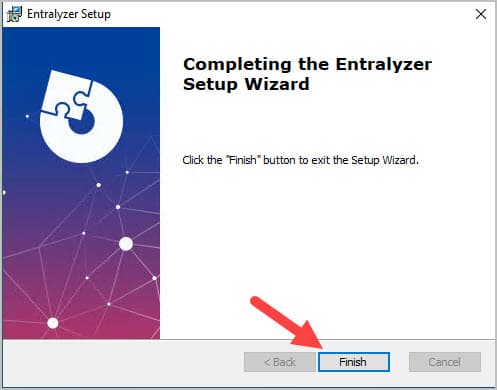
Step 7. Click “Finish”
Step 8. Open the application by clicking the “Entralyzer” shortcut on your desktop.
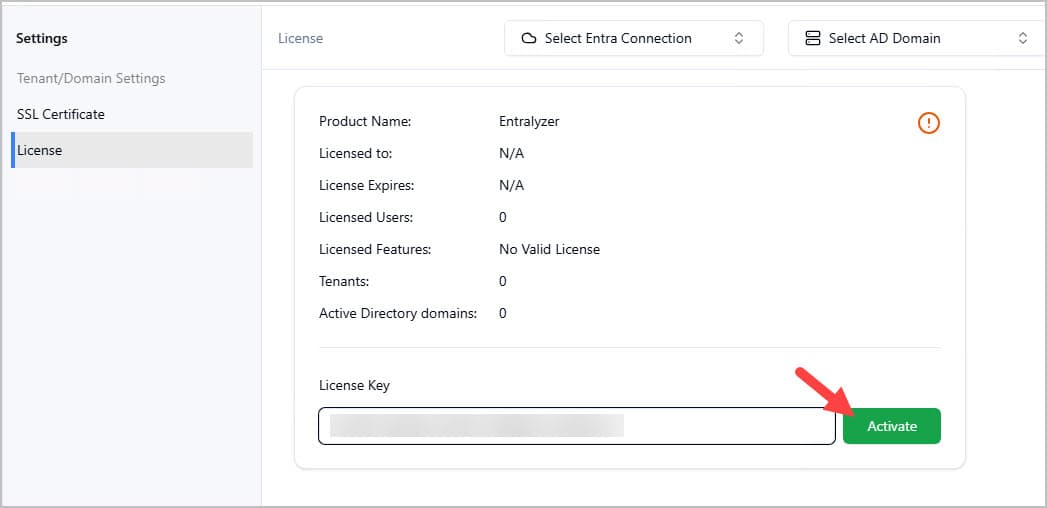
Step 9. Enter your license key and click “Activate”.
Add Microosft 365 Tenants
Section titled “Add Microosft 365 Tenants”Our product is built using the Microsoft identity platform to establish a trust relationship between the software and your Microsoft tenant. We do not store your username and password. In addition, we do not collect any user data. This is an on-prem tool, and no data is sent back to our servers.
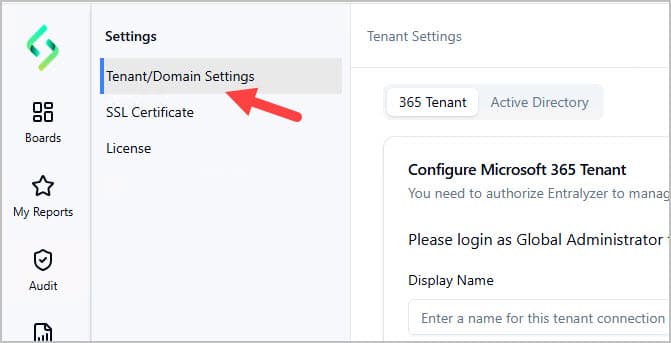
Step 1. Under Settings click on “Tenant/Domain Settings”.
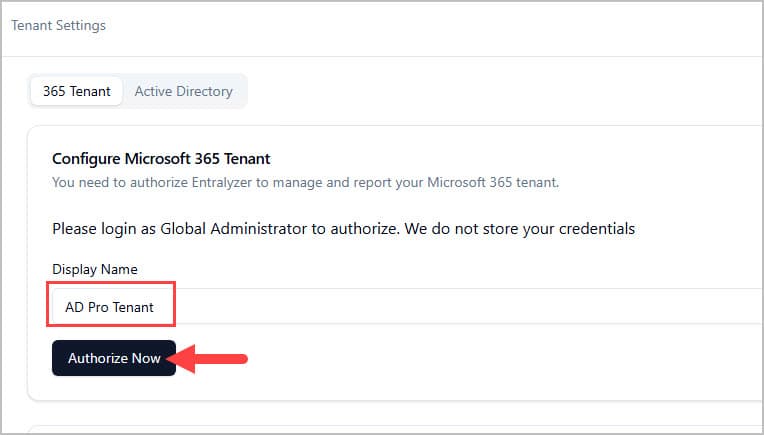
Step 2. Enter a display name for your tenant and click “Authorize Now”.
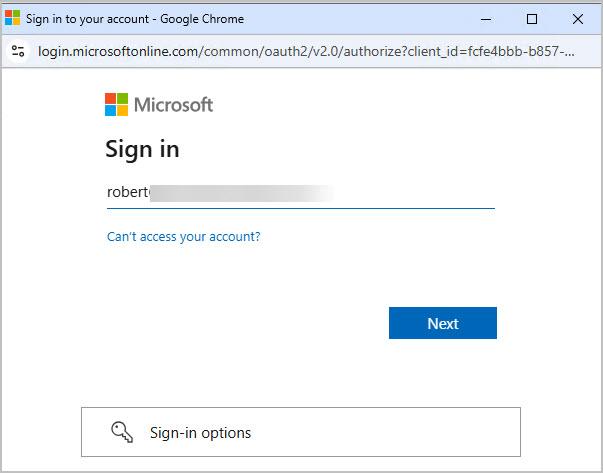
Step 3. You will be prompted to sign in with your Microsoft account.
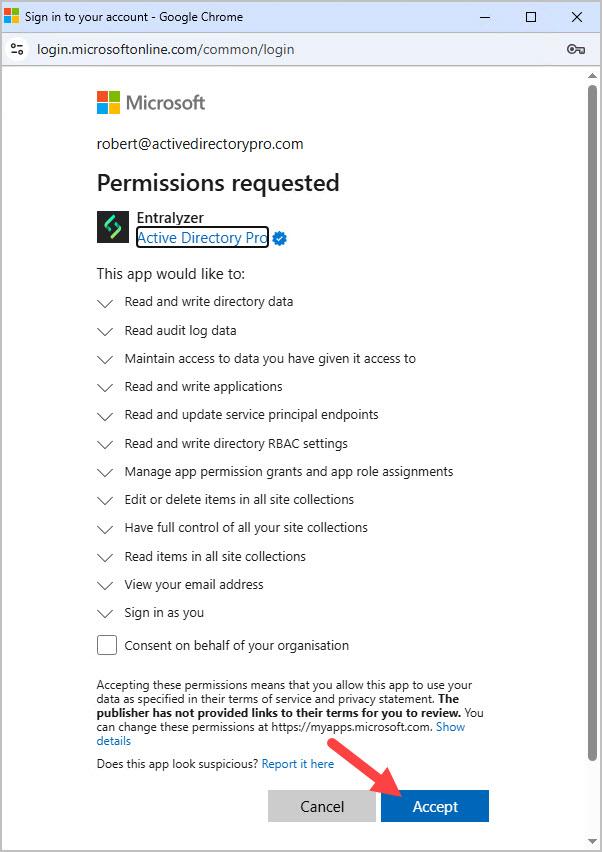
Step 4. After you sign in you will be prompted to accept the permissions.
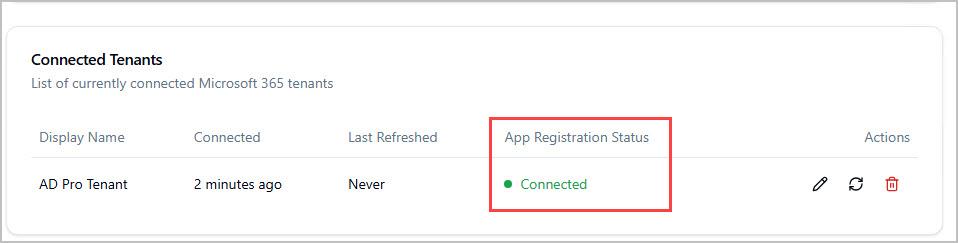
After clicking “Accept” wait about 10-15 seconds and then check the “Connected Tenants” section. If it shows connected you can start using the application.
To add additional tenants repeat these steps.
Add Active Directory Connections
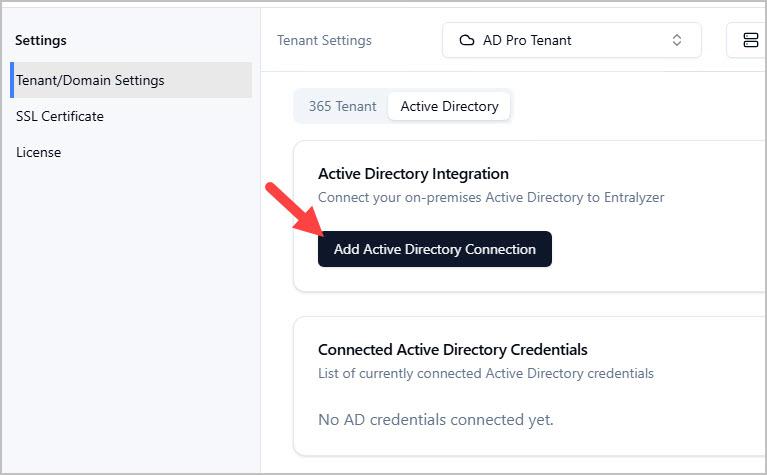
Section titled “Add Active Directory Connections”Step 1. Under Settings Click the “Active Directory” tab.

Step 2. Click “Add Active Directory Connection”.
Enter your domain controller details and click “Test Connection” then click “Add”.