Configure Windows Event Collector and Fowarding
This guide shows you how to setup a Windows Event Collector server to receive fowarding events from Windows sytems.
This guide is split into three parts:
- Part 1: Windows Event Collector Configuration
- Part 2: Enable Windows Remote Management (WinRM) using Group Policy
- Part 3: Windows Event Fowarding Group Policy Settings
Requirements
Section titled “Requirements”- Windows Server 2022 or later: This will be the centralized server your source computers send their event logs to.
- Windows Remote Management service (WinRM) Enabled: This windows service needs to be running on the source computers you want to collect logs from. It is enabled by default on Server 2008R2 and higher. For client computers you will need to enable this service, instructions are in part 2 of this guide.
- Windows Remote Management Allowed in Firewall: If you have the Windows Firewall enabled you will need to allow WinRm. Steps are in part 2, includes instructions for securing WinRM.
Part 1: Windows Event Collector Configuration
Section titled “Part 1: Windows Event Collector Configuration”You will need a dedicated windows event collector server to centralize the logon events from your endpoints.
Step 1: Create a Windows Server 2022 or later version that will be used as the event collector server.
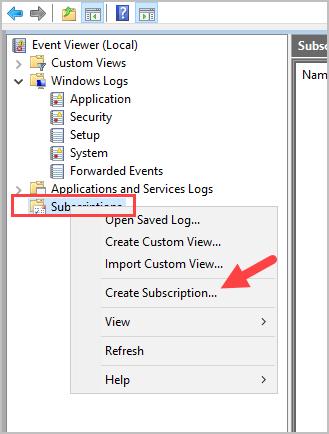
Step 2: On the event collector server open event viewer, right click “Subscriptions” and select “Create Subscription”.
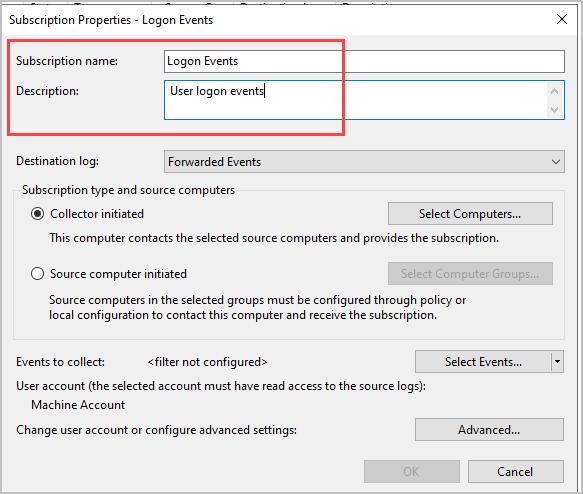
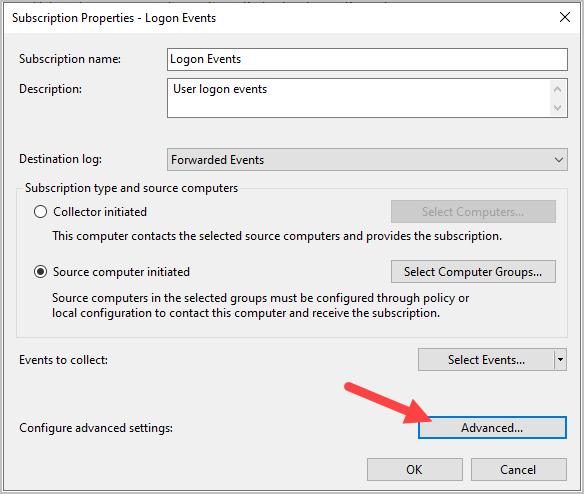
Step 3: Give the subscription a name and description.
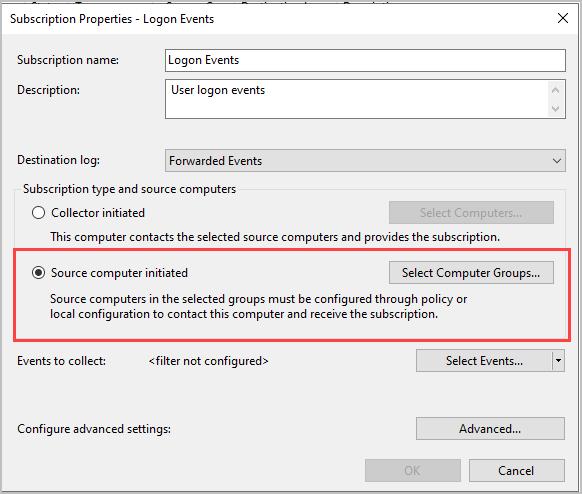
Step 4: Click on “Source computer initiated” and click “Select Computer Groups”
Step 5: Click “Add Domain Computers”
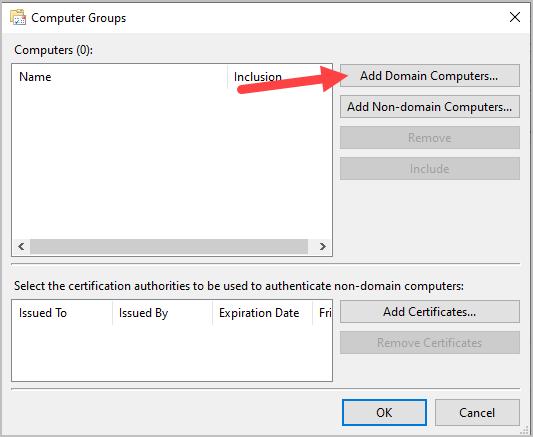
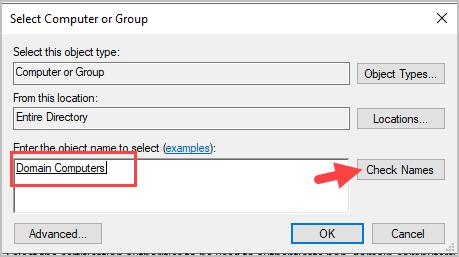
In the box type “domain computers” click check names and then ok.
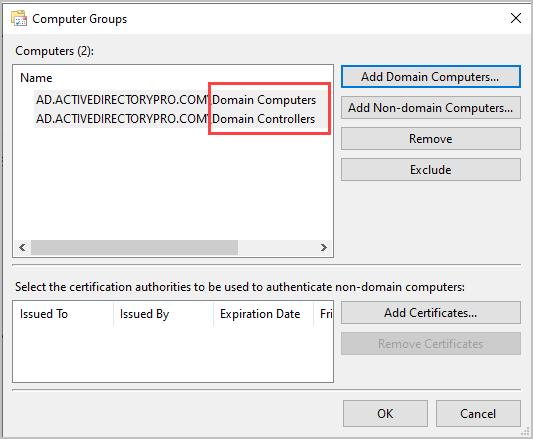
Repeat the above steps and add “domain controllers”. When complete it should look like the image below.
Step 6: Click “Select Events”.
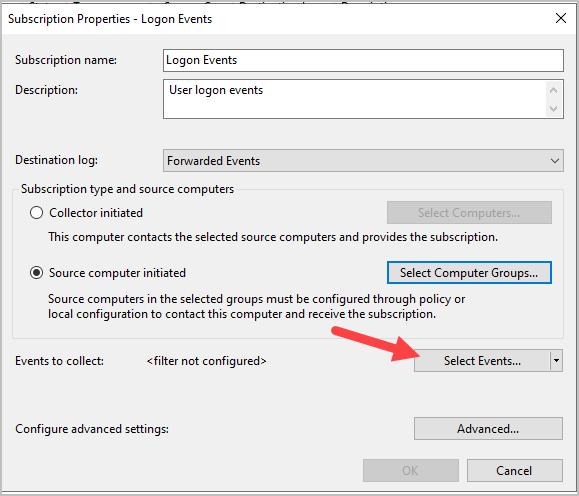
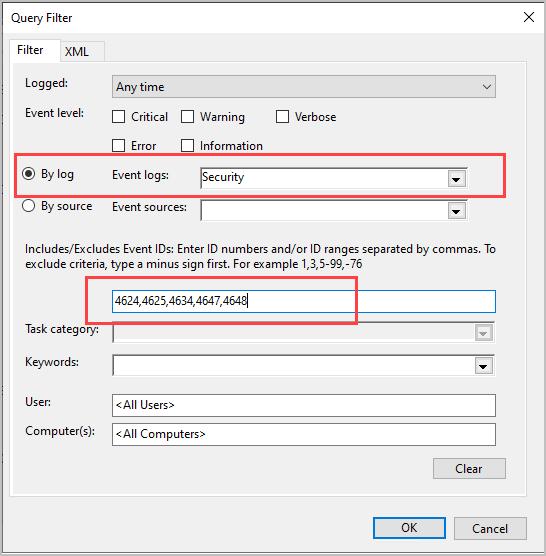
Step 7: Configure the following filter settings
- Select “By log” and in the event logs dropdown select “Security”.
- Include the following event IDs 4624,4625,4634,4647,4648
Step 8: Click “Advanced” and select “Minimize Latency”.
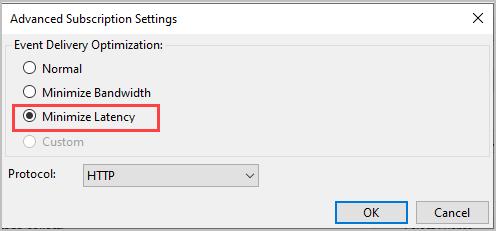
Click “OK”.
Part 2: Enable Windows Remote Management (WinRM) using Group Policy
Section titled “Part 2: Enable Windows Remote Management (WinRM) using Group Policy”Part 2 is long and is split into 4 sections.
Enable WinRM listener
Section titled “Enable WinRM listener”The WinRM service needs to be configured to listen for network requests.
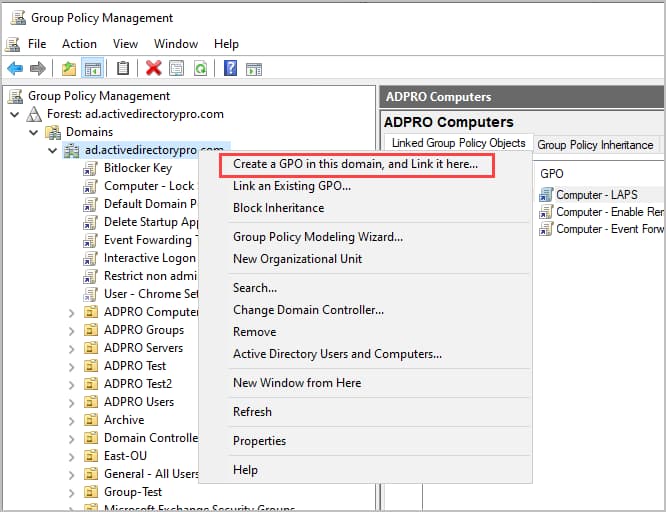
Step 1: Open the Group Policy Management Console on your domain controller.
Step 2: Right-click on an OU you want to apply the policy to, then click Create a GPO in this Domain, and Link it here.
Step 3: Name the policy Enable WinRM (or whatever you want to name it), then click OK.
Step 4: Right click the GPO and click Edit. Navigate to Computer Configuration > Policies > Administrative Templates > Windows Components > Windows Remote Management (WinRM) > WinRM Service.
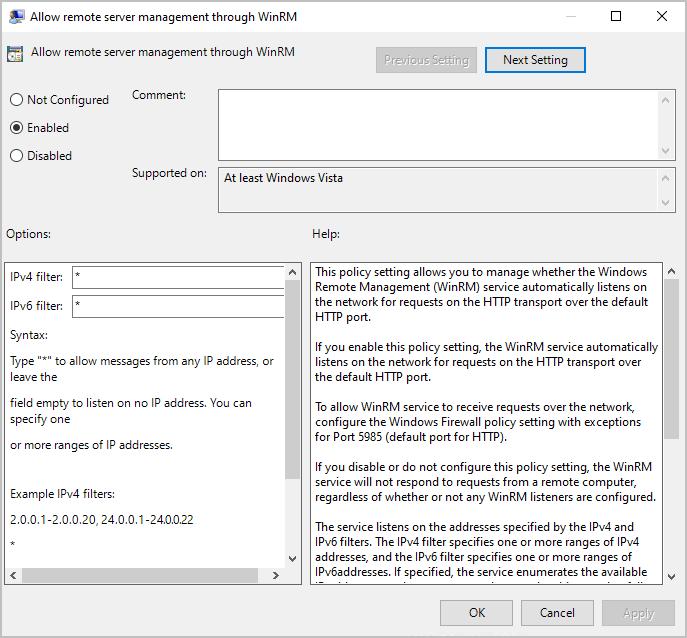
Step 5: Locate Allow remote server management through WinRM, and double-click it to edit the setting.
Step 6: Select Enabled.
Step 7: Enter a range of IP addresses in the IPv4 and IPv6 filter boxes or add an asterisk to allow all IP addresses. I would recommend putting an asterisk in the ip filter boxes and then using the firewall to control access.
Step 8: Click “OK”.
Enable WinRM service to start automatically
Section titled “Enable WinRM service to start automatically”On client computers the WinRM service is not started by default. You will need to configure the service to start automatically.
Step 1: Continue editing the same GPO.
Step 2: Navigate to Computer Configurations > Preferences > Control Panel Settings > Services.
Step 3: Right-click in the Services window, then click New > Service.
Step 4: Change the Startup to Automatic
Step 5: Click the ellipsis button next to the Service name field.
Step 6: Find and select the service name Windows Remote Management (WS-Management)
Step 7: Select Start Service from the service action menu, then click Apply and OK.

Firewall settings
Section titled “Firewall settings”The Windows firewall by default blocks WinRM, follow these steps to allow the connection in the firewall.
Step 1: Continue editing the same GPO.
Step 2: Navigate to Computer Configuration > Policies > Windows Settings > Security Settings > Windows Defender Firewall with Advanced Security > Windows Defender Firewall with Advanced Security.
Step 3: Right-click on Inbound Rules, then click New Rule.
Step 4: Select Predefined, then select Windows Remote Management from the drop-down menu.
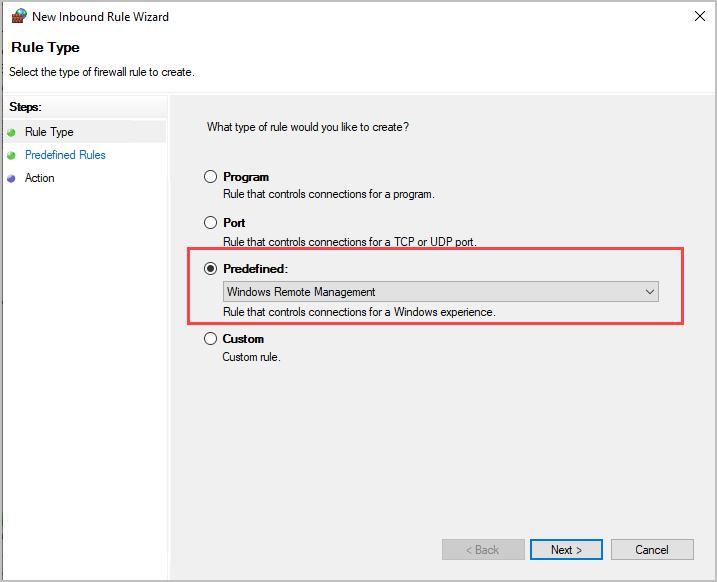
Step 5: Click Next
Step 6: Uncheck the public profile rule.
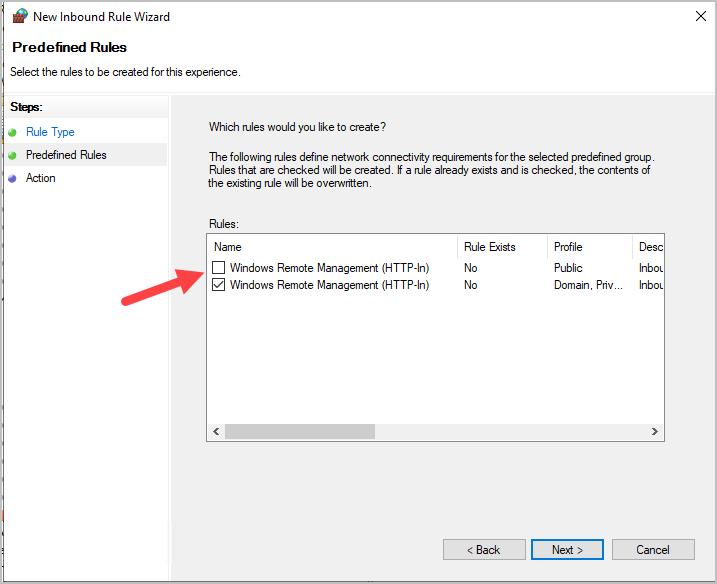
Step 7: Click Next
Step 8: Select Allow the connection, then click Finish.
Secure WinRM access
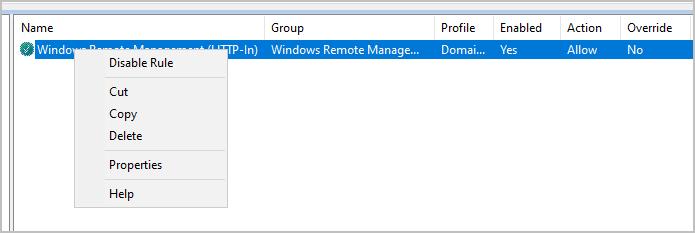
Section titled “Secure WinRM access”Step 1: Continue editing the same GPO
Step 2: Right click the Firewall rule from the previous steps and select properties.
Step 3: Click on Scope
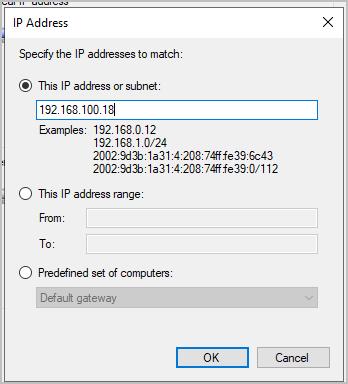
Step 4: In the Remote IP Address section select “These IP addresses” and click “Add”.
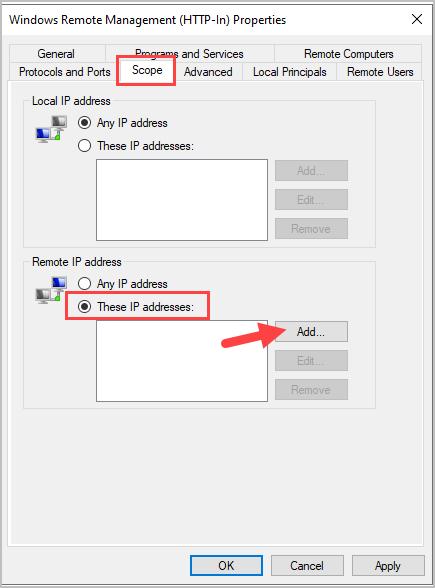
Step 5: Type an IP address or subnet. In this example, I’m only going to allow the IP address of my WEC server.
Step 6: Click OK.
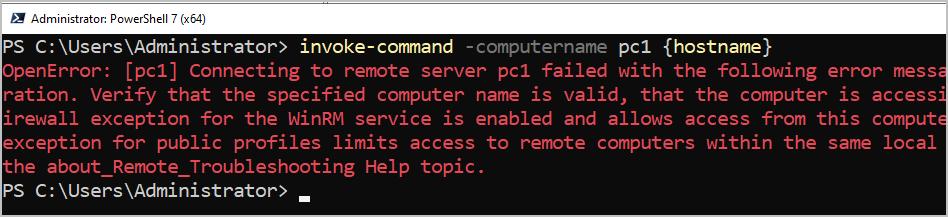
With these settings the only remote computer that can access the endpoints via WinRM is the WEC Server (or whatever IP addresses you enter). You can verify this by using the command below on a computer that is not allowed.
This example tries to run the hostname command on the pc1 computer.
invoke-command -computername pc1 {hostname}In the screenshot below you can see the Firewall is blocking the connection becuase its not an allowed IP.
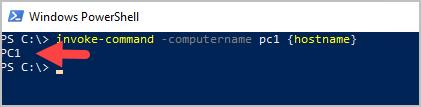
I run the same command from my WEC Server and the connection is allowed and the command runs.
Part 3: Windows Event Fowarding Group Policy Settings
Section titled “Part 3: Windows Event Fowarding Group Policy Settings”Step 1: Log into your domain controller and open the Group Policy Management console. Create a new GPO and link it to the domain or container that contains the computers you want to collect the events from. In this example, I’m going to link it to the root domain so that all computers have their logon events fowarding.
Step 2: Edit the GPO and browse to the following location: Computer Configuration -> Policies -> Windows Settings -> Security Settings -> Restricted Groups
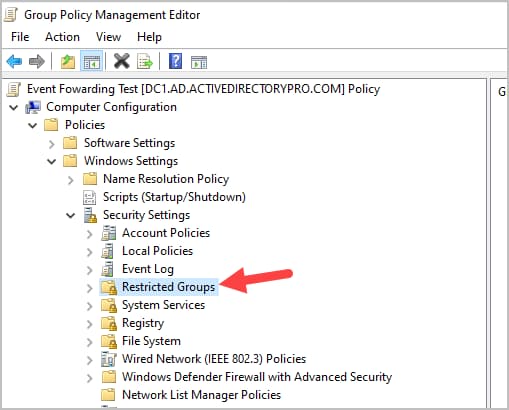
Step 3: Right click on “Restrictred Groups” and select “Add Group”.
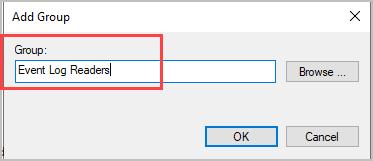
Step 4: Add a group named “Event Log Readers” and Click “OK”.
Step 5: In “Member of this group,” click “Add” then copy and paste the group name below:
NT AUTHORITY\Network Service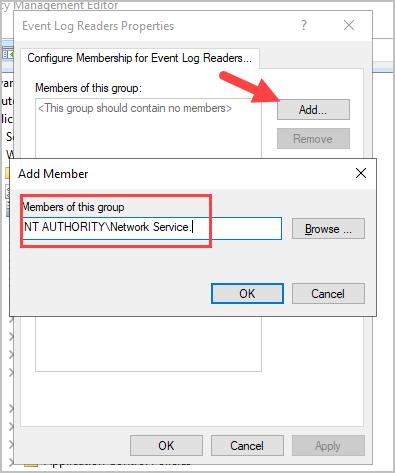
Click “OK” twice to return to the main screen.
Step 6: Navigate to the following policy: Computer Configuration -> Policies -> Administrative Templates -> Windows Components -> Event Forwarding
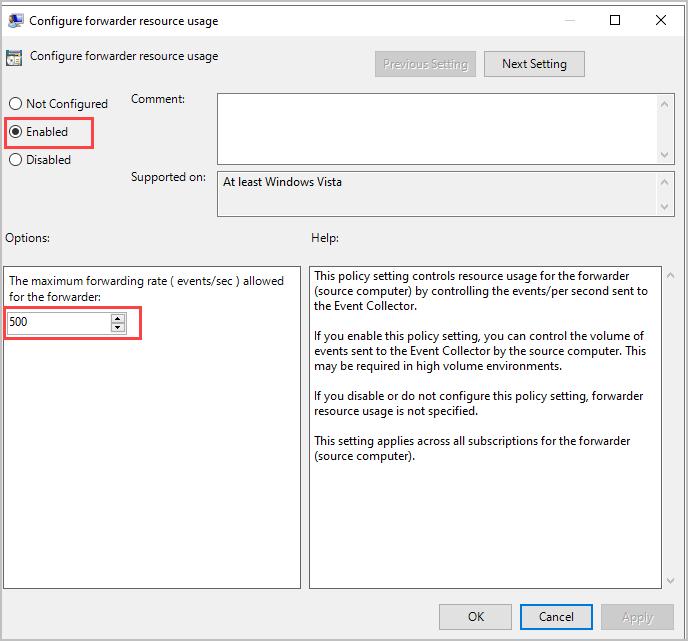
Step 7: Double Click “Configure Forwarder resource usage”.
Step 8: Select “Enabled” and enter 500 for the maximum fowarding rate.
Step 9: Click “OK”
Step 10: Double Click “Configure target Subscription Manager”
Step 11: Select “Enabled”
Step 12: Click “Show” next to SubscriptionManagers.

In the box copy and paste the text below. Replace FQDN of the collector with the name of your wec server.
Server=http://<FQDN of the collector>:5985/wsman/SubscriptionManager/WEC,Refresh=120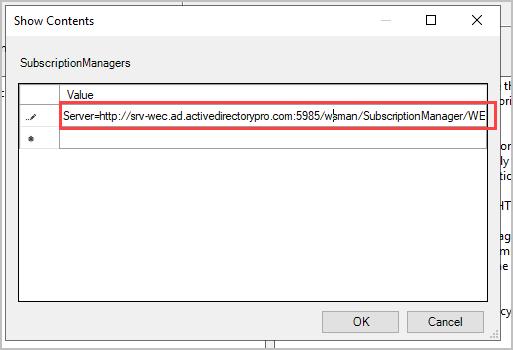
Step 13: Navigate to the following: Computer Configuration -> Policies -> Administrative Templates -> Windows Components -> Event Log Service -> Security
Step 14: Double Click on “Configure Log Access”
Step 15: Select “Enabled” then copy and paste the text below into the Log Access box.
O:BAG:SYD:(A;;0xf0005;;;SY)(A;;0x5;;;BA)(A;;0x1;;;S-1-5-32-573)(A;;0x1;;;S-1-5-20)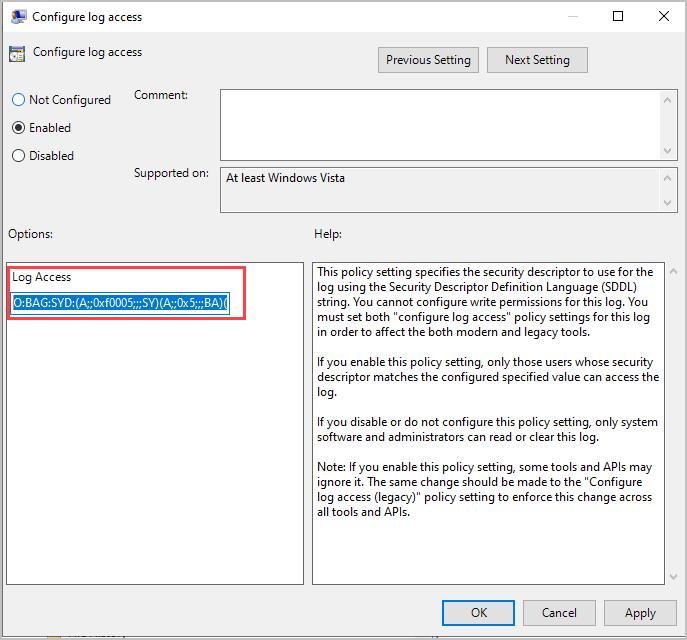
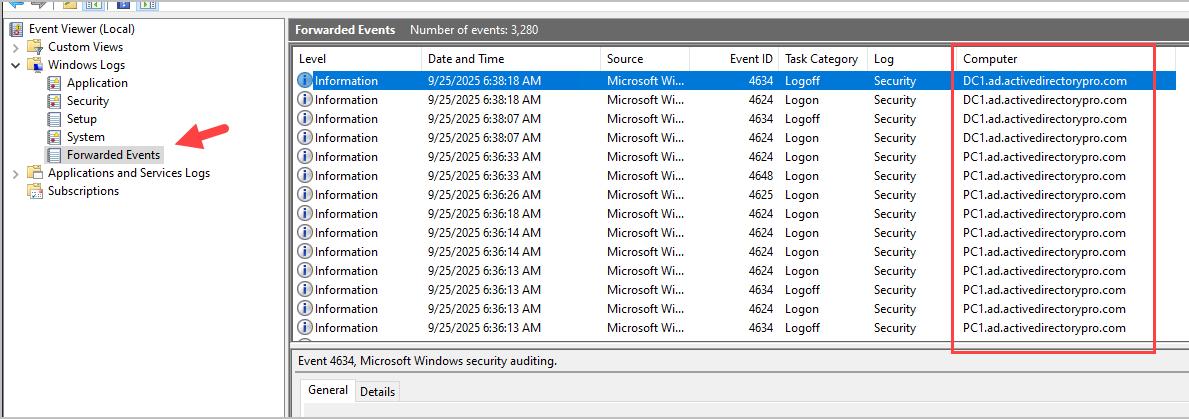
Step 16: Check the WEC Server
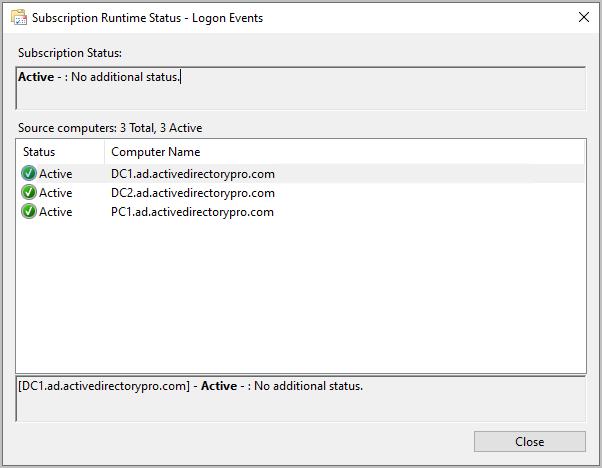
At this point you should see computers start to check in with the WEC Server. On your WEC server open the Event Viewer > Subscriptions. Look at the source computers column and the number should start to increase.

You can right click the subscriptions and select “Runtime status” to see the individual computers.
Step 17: Create a test event
- Log into one of you computers and it will generate event 4624 - An account was successfully logged on.
- Log into your WEC server, open event viewer and click on “Fowarded Events”. These are the event logs that are being fowarded to your server.The computer column is the source computer of the event.